
Best Practices for Ice and Water Shield Installation on Your Roof
Introduction
When it comes to ensuring the longevity and integrity of your roof, one component stands out among the rest: ice and water shield. This crucial material acts as a barrier against moisture, protecting your home from leaks and potential water damage during heavy rains or melting snow. Understanding the best practices for ice and water shield installation on your roof can make a significant difference in the effectiveness of your roofing system. In this comprehensive guide, we will explore everything you need to know about proper installation techniques, maintenance tips, and common pitfalls to avoid.
Understanding Ice and Water Shield
What is Ice and Water Shield?
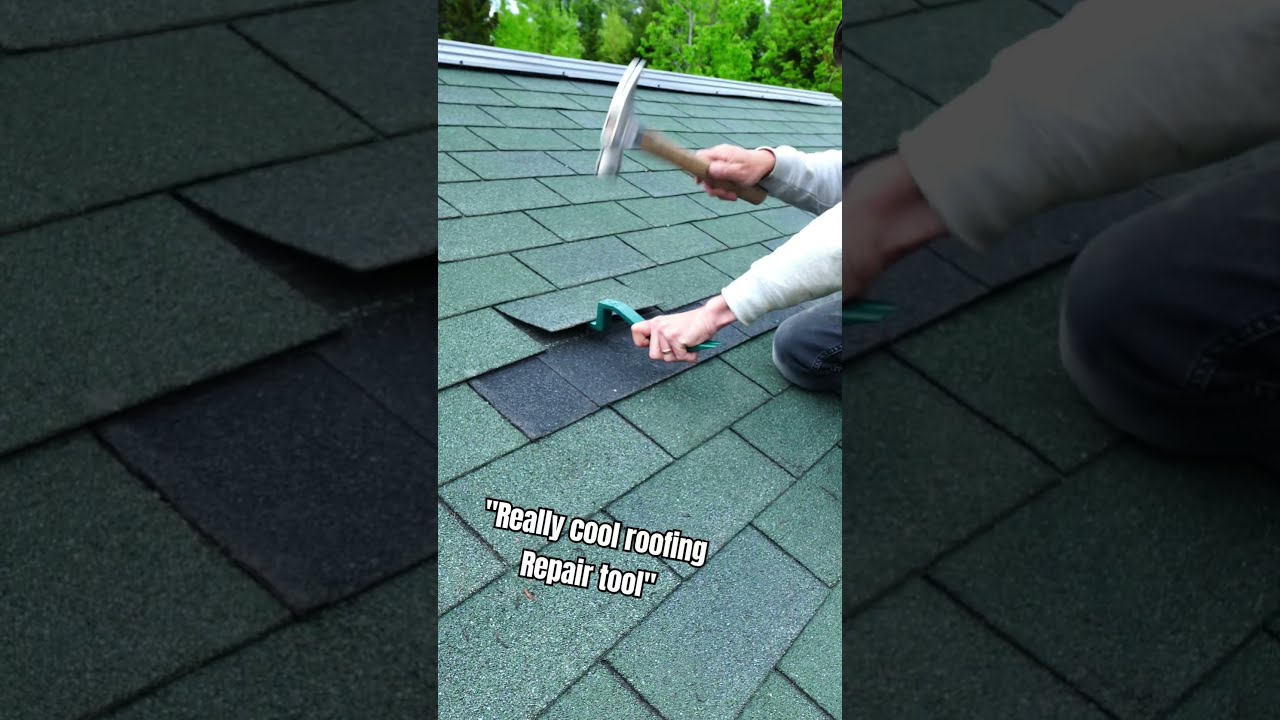
Ice and water shield is a type of underlayment designed specifically to protect vulnerable areas of your roof from ice dams and wind-driven rain. It consists of a waterproof membrane that adheres directly to the roof deck, providing an extra layer of protection against moisture infiltration.
Importance of Ice and Water Shield in Roofing
The importance of ice and water shield cannot be overstated. Without it, your roofing system is susceptible to leaks caused by ice dams—common occurrences in colder climates where snow accumulation leads to melting and refreezing cycles. By installing this protective layer, you can significantly reduce the risk of costly repairs due to water damage.
Best Practices for Ice and Water Shield Installation on Your Roof
Selecting the Right Material
When choosing an ice and water shield product, consider materials that meet local building codes. Look for options that offer excellent adhesion qualities, UV resistance, and durability. Many roofing experts recommend products with self-adhering capabilities for easier installation.
Preparing Your Roof Deck
Before installation begins, thoroughly inspect your roof deck for any damage or rot. A damaged deck compromises the integrity of the entire roofing system. Ensure it's clean, dry, and free from debris—this will help achieve better adhesion for the ice and water shield.

Installing Flashing Before Underlayment
Flashing plays a critical role in preventing leaks around penetrations such as chimneys, vents, or skylights. Install flashing before applying your ice and water shield; this ensures that all seams are properly sealed against moisture intrusion.
Proper Placement of Ice and Water Shield
Overlapping Seams Correctly
Proper overlapping is essential to ensure watertight seals between sheets of ice and water shield. Follow manufacturer recommendations regarding overlaps (typically 6 inches) while ensuring that seams do not line up vertically with those below.
Adding Additional Layers as Needed
In areas prone to extreme weather conditions or heavy snowfall, consider adding more than one layer of ice and water shield for maximum protection. This layered approach can significantly enhance waterproofing capabilities.
Common Mistakes During Installation
Skipping Areas Prone to Leaks
One common mistake homeowners make is neglecting certain areas during installation—like around vents or valleys—where leaks are more likely to occur. Always prioritize these high-risk zones when applying your underlayment.
Incorrect Application Techniques
Using improper application techniques can lead to poor adhesion or gaps in coverage. Always follow manufacturer guidelines closely; this includes temperature considerations during installation.
Maintaining Ice and Water Shield After Installation
Regular Inspections
To ensure long-term performance of your roofing system, conduct annual inspections focusing on potential wear points like flashings or seams where leaks might develop over time.
Prompt Leak Detection
If you notice signs of leakage such as discoloration on ceilings or walls below your roofline, address them immediately! Timely action prevents further damage down the road.
FAQs About Ice and Water Shield Installation
- Focus on eavestroughs, valleys, skylights, chimneys, and other penetrations that are most susceptible to moisture intrusion.
- While DIY installation is possible if you have experience with roofing projects, hiring certified roofing professionals ensures proper application according to industry standards.
- Most high-quality products have lifespans ranging from 20-30 years depending on climate conditions; however regular maintenance checks are recommended!
- Yes! Even with shingles installed above them; without adequate protection underneath (like an effective underlayment), you leave room for potential leak issues later down the line!
- Contact emergency roof repair services promptly after storm events; they’ll be able assess damages accurately so appropriate repairs can be made quickly!
- Many insurance policies include provisions for covering installations aimed at preventing future damages caused by weather-related incidents; consult with your local roofing company regarding specifics!
Conclusion
In conclusion, roof inspection understanding best practices for ice and water shield installation on your roof is crucial in safeguarding against leaks caused by harsh weather conditions throughout its lifespan! By selecting quality materials while adhering strictly following recommended techniques during both initial setups as well as through ongoing upkeep efforts – you'll greatly enhance overall resilience & reliability within each section comprising totality behind any successful roofing project!
Engaging experienced local roofing contractors who specialize in these types installations provides additional peace mind knowing everything has been done correctly before closing up shop once again atop homes everywhere across America!