
A Beginner's Guide to Understanding Drip Edge Installation.
Introduction
When it comes to roofing, many homeowners focus on materials, aesthetics, and energy efficiency. However, one crucial component often overlooked is the drip edge. This seemingly simple strip plays a vital role in protecting your roof and home from water damage. In this comprehensive guide, we will delve into everything you need to know about drip edge installation—from its purpose and benefits to installation techniques and maintenance tips. Whether you're a DIY enthusiast or considering hiring a local roofing company, understanding drip edge can make all the difference in your roofing project.
What is Drip Edge?
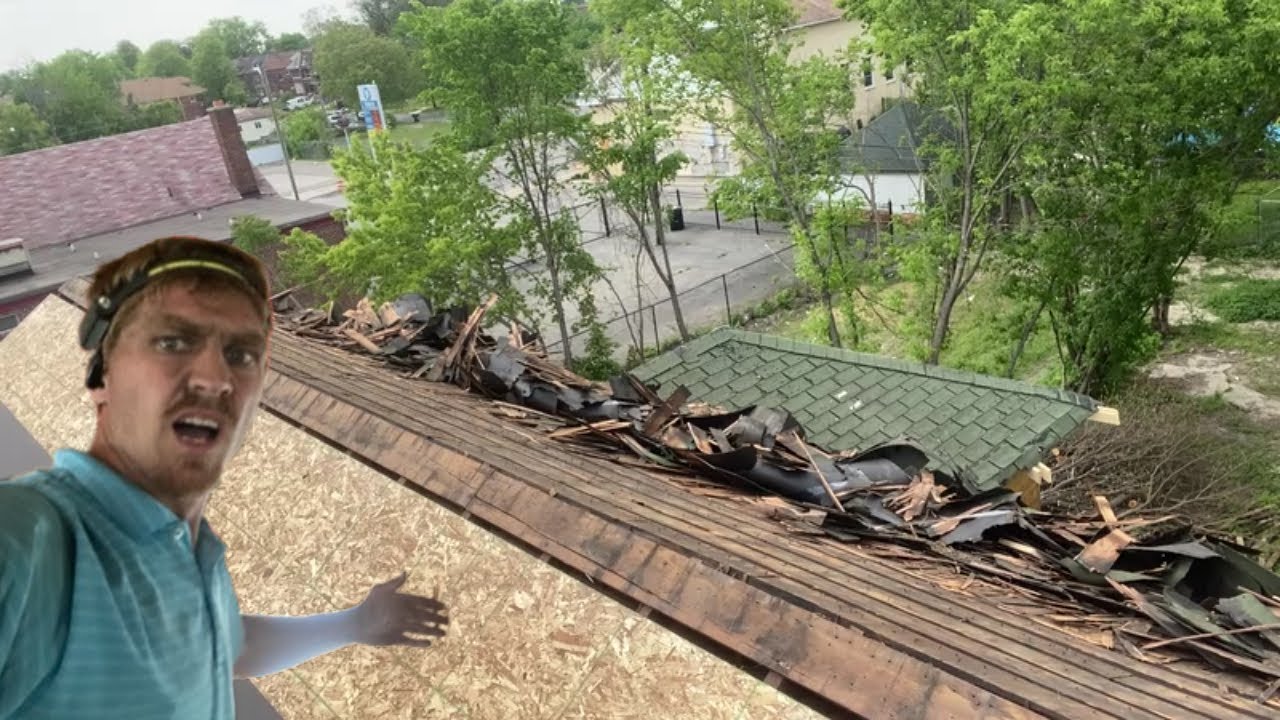
Drip edge is a metal flashing installed along the roof's edges. Its primary function is to direct water away from the fascia and prevent moisture intrusion beneath shingles or other roofing materials. Typically made of aluminum or galvanized steel, drip edges come in various sizes and styles.
The Importance of Drip Edge in Roofing
Why should you care about drip edge? Well, without it, water can seep under shingles or tiles, leading to leaks that might not become apparent until significant damage has occurred. Here are some critical reasons why drip edge is essential:
- Water Management: Properly installed drip edges help manage water flow off the roof.
- Prevention of Rot: By directing water away from wooden components, it minimizes the risk of rot.
- Aesthetic Appeal: A clean finish at the roof's edge enhances overall curb appeal.
Types of Drip Edges
Understanding the different types of drip edges available can help you choose the right one for your project:
Choosing the Right Material for Your Drip Edge
Material choice significantly impacts durability and effectiveness:
- Aluminum: Lightweight but resistant to rust; ideal for coastal areas.
- Galvanized Steel: Robust and durable; better suited for regions with heavy snowfall.
- Copper: Offers a unique aesthetic but comes at a higher cost.
Tools Needed for Drip Edge Installation
Before getting started with installation, ensure you have these tools on hand:
- Measuring tape
- Tin snips
- Hammer
- Roofing nails (preferably corrosion-resistant)
- Chalk line
- Ladder
Preparing Your Roof for Drip Edge Installation
Preparation is key! Before installing your drip edge, follow these steps:
Step-by-Step Guide: Installing Drip Edge
Now that you're prepared let’s walk through how to install your drip edge properly.
Step 1: Measure and Cut Your Drip Edge
Using tin snips, cut your chosen material according to your measurements. Make sure each piece fits snugly against adjacent pieces.
Step 2: Positioning the Drip Edge
Position each section of the drip edge along the eaves first before securing it with nails. Ensure there's an overhang extending at least half an inch beyond the fascia board.
Step 3: Nail It Down
Using roofing nails spaced approximately 12 inches apart, secure your drip edge in place. Be cautious not to nail too close to the edge as this could create holes that allow water penetration.
Step 4: Overlap Sections
When installing multiple sections, overlap them by at least two inches—this ensures proper drainage and prevents leaks.
Step 5: Install Underlayment (if needed)
In some cases where additional protection is necessary—like in areas prone to ice dams—consider installing an ice-and-water shield underneath your shingles after securing your drip edge.
Common Mistakes When Installing Drip Edges
Even seasoned roofing contractors can make mistakes during installation. Here are common pitfalls:
Maintenance Tips for Your Drip Edge
Once installed, regular maintenance ensures longevity:
- Inspect annually during roof inspections.
- Clean gutters regularly to prevent clogging.
- Check periodically for rust or corrosion on metal edges.
FAQs About Drip Edge Installation
What is a typical lifespan for a drip edge?
Most metal drip edges have a lifespan of 20 years or more if properly maintained!
Can I install a drip edge myself?
Absolutely! If you’re comfortable working on roofs and have basic carpentry skills, you can tackle this project yourself.
Do I need permits for installing a new roof with a drip edge?
This largely depends on local regulations; always check with your local building authority before starting any major roofing projects!
Is it important to match my roof color?
While it's not crucial for functionality, matching colors can enhance curb appeal!
Can I install a new drip edge over an old one?
It’s best practice to remove old materials first; layering can trap moisture which leads to rot!
Does insurance cover issues related to missing or damaged drip edges?
Many policies do cover damages due to improper installations—but always consult your insurance provider!
Conclusion
Drip edges play an integral role in maintaining your roof's integrity while enhancing its look! roof warranty included As we've explored here in "A Beginner's Guide to Understanding Drip Edge Installation," understanding their purpose and proper installation techniques maximizes protection against potential leaks and damage down the road! Whether you're taking on this task yourself or enlisting help from experienced roofing professionals—you now have all the tools necessary for success! Always remember: when it comes time for repairs or replacements—consult qualified contractors who provide reliable services backed by warranties—and don’t hesitate asking about those vital annual inspections! Happy roofing!